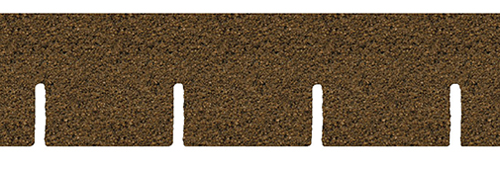
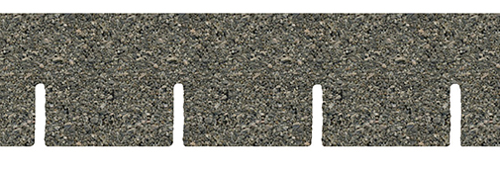
Size: 1 inch x 35 inches
8 Strips per bag
Alessio Miniatures Shingle coverage: 157 Square inches
Helpful Hints for installation:
Tools Necessary:Sharp scissors, Tacky or wood glue or hot glue gun, ruler and pencil
Installation:Starting at the bottom of your roof, glue down the first strip upside down flush to the edge of the roof.
From the Top edge of the shingle row, measure up 1/2". Using your ruler draw a parallel pencil line 1/2" above the Top edge of the first shingle row. This will allow your second row to have enough coverage between tab slots to not expose any roof. Continue to draw lines 1/2" apart up the roof to use as your guides.
Trim your second strip of Shingles so there is a complete shingle on the left side of the strip. Starting on the left, glue down the second strip, lining it up to the pencil line.
Continue with the thiRound strip, lining up the first Full individual shingle so the tab slot falls in the Center of an entire shingle on the previous stripTrim the end of the strip as necessary.
You now have the Pattern. The fourth strip will line up visually with the second stripThe fifth with the third, and so on, creating a balanced stagger.
When nearing the roof peak, if necessary cut the last strip to meet flush with the edge of the peak. Make sure the opposite side of the roof is finished the same way before continuing.
To cap the roof, cut off Single Shingles, fold them evenly in Half, and glue them overlapping the previous shingle by one quarter inch aLong the roof peak.
For a neat, pressed look to your freshly glued Shingles, lay a boaRound over the Top and apply weight until the Shingles dry.
1 Inch Scale, also referred to as 1/12 or 1:12 scale; which means 1 inch equals 1 foot.
You can be the first one to write a review.


